Groups, Documents and Views
The following documentations provide instructions on what View Editor “Group”, “Document” and “Views” are and how to use them.
Groups
 Groups organize documents and other groups within a project
Create Group
Since “Group” can only be used to organize documents/groups, it can only be created under the project level.
Select a parent group to create your group under in the tree or create group at the root level by navigating to the project “home”
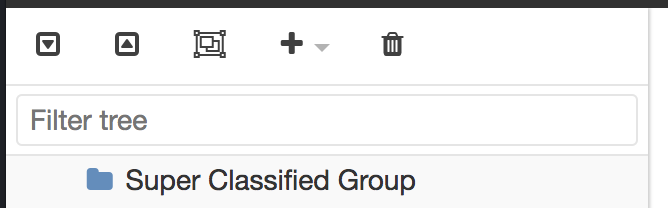
Select the plus in the left pane
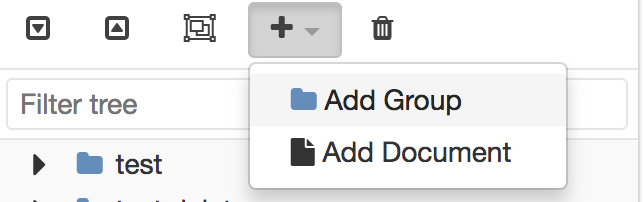
Enter a title for the new group
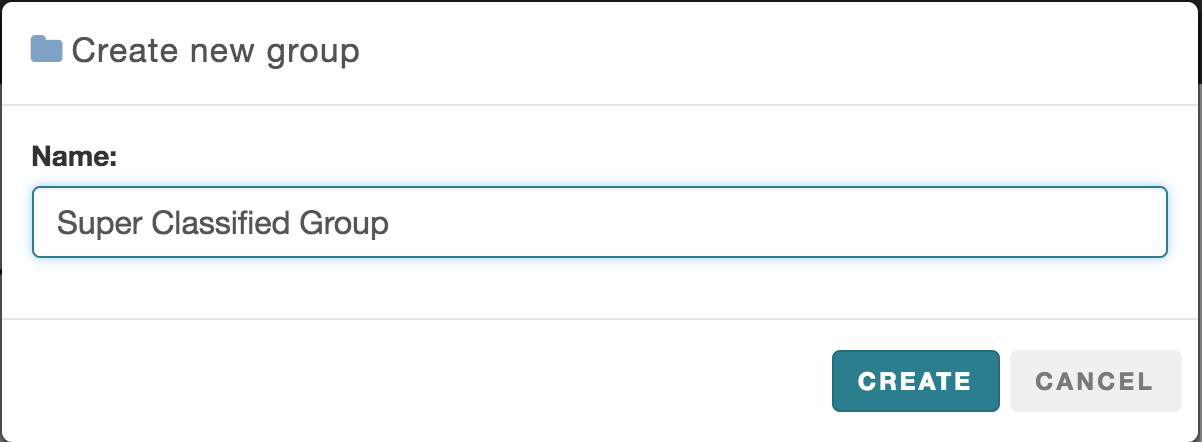
Your group will appear in the tree

Delete Group
Only an empty “Group” can be deleted. To delete “Super Classified Group” Group in the picture above,
Select the group
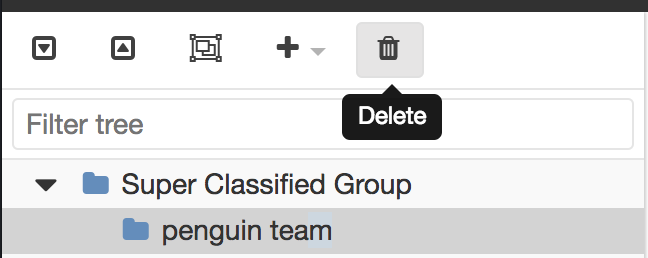
Click delete and confirm the deletion
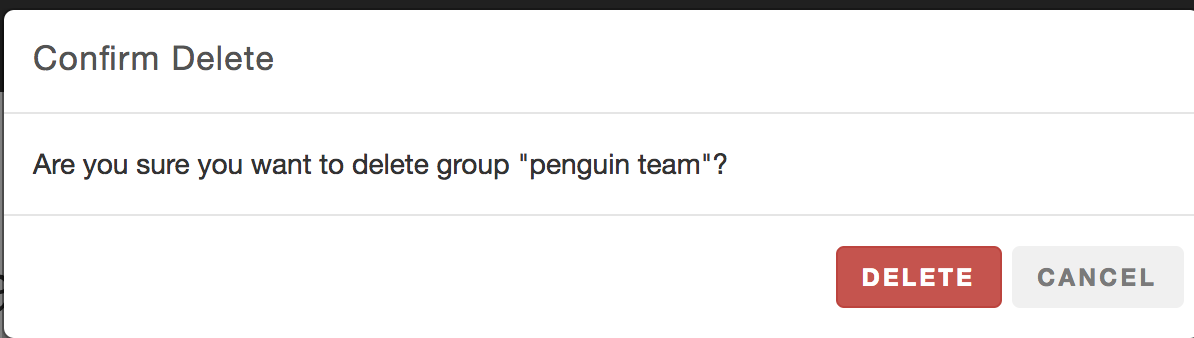
Your group will no longer appear in the tree
Follow the same steps to delete “Super Classified Group”.
Organize Groups/Documents
“Groups” can be used to group together documents/groups. To move documents into a group:
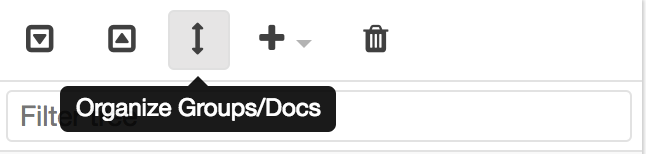
Select the “Move to/from Group” Icon in the left pane
The project tree will appear in the center pane
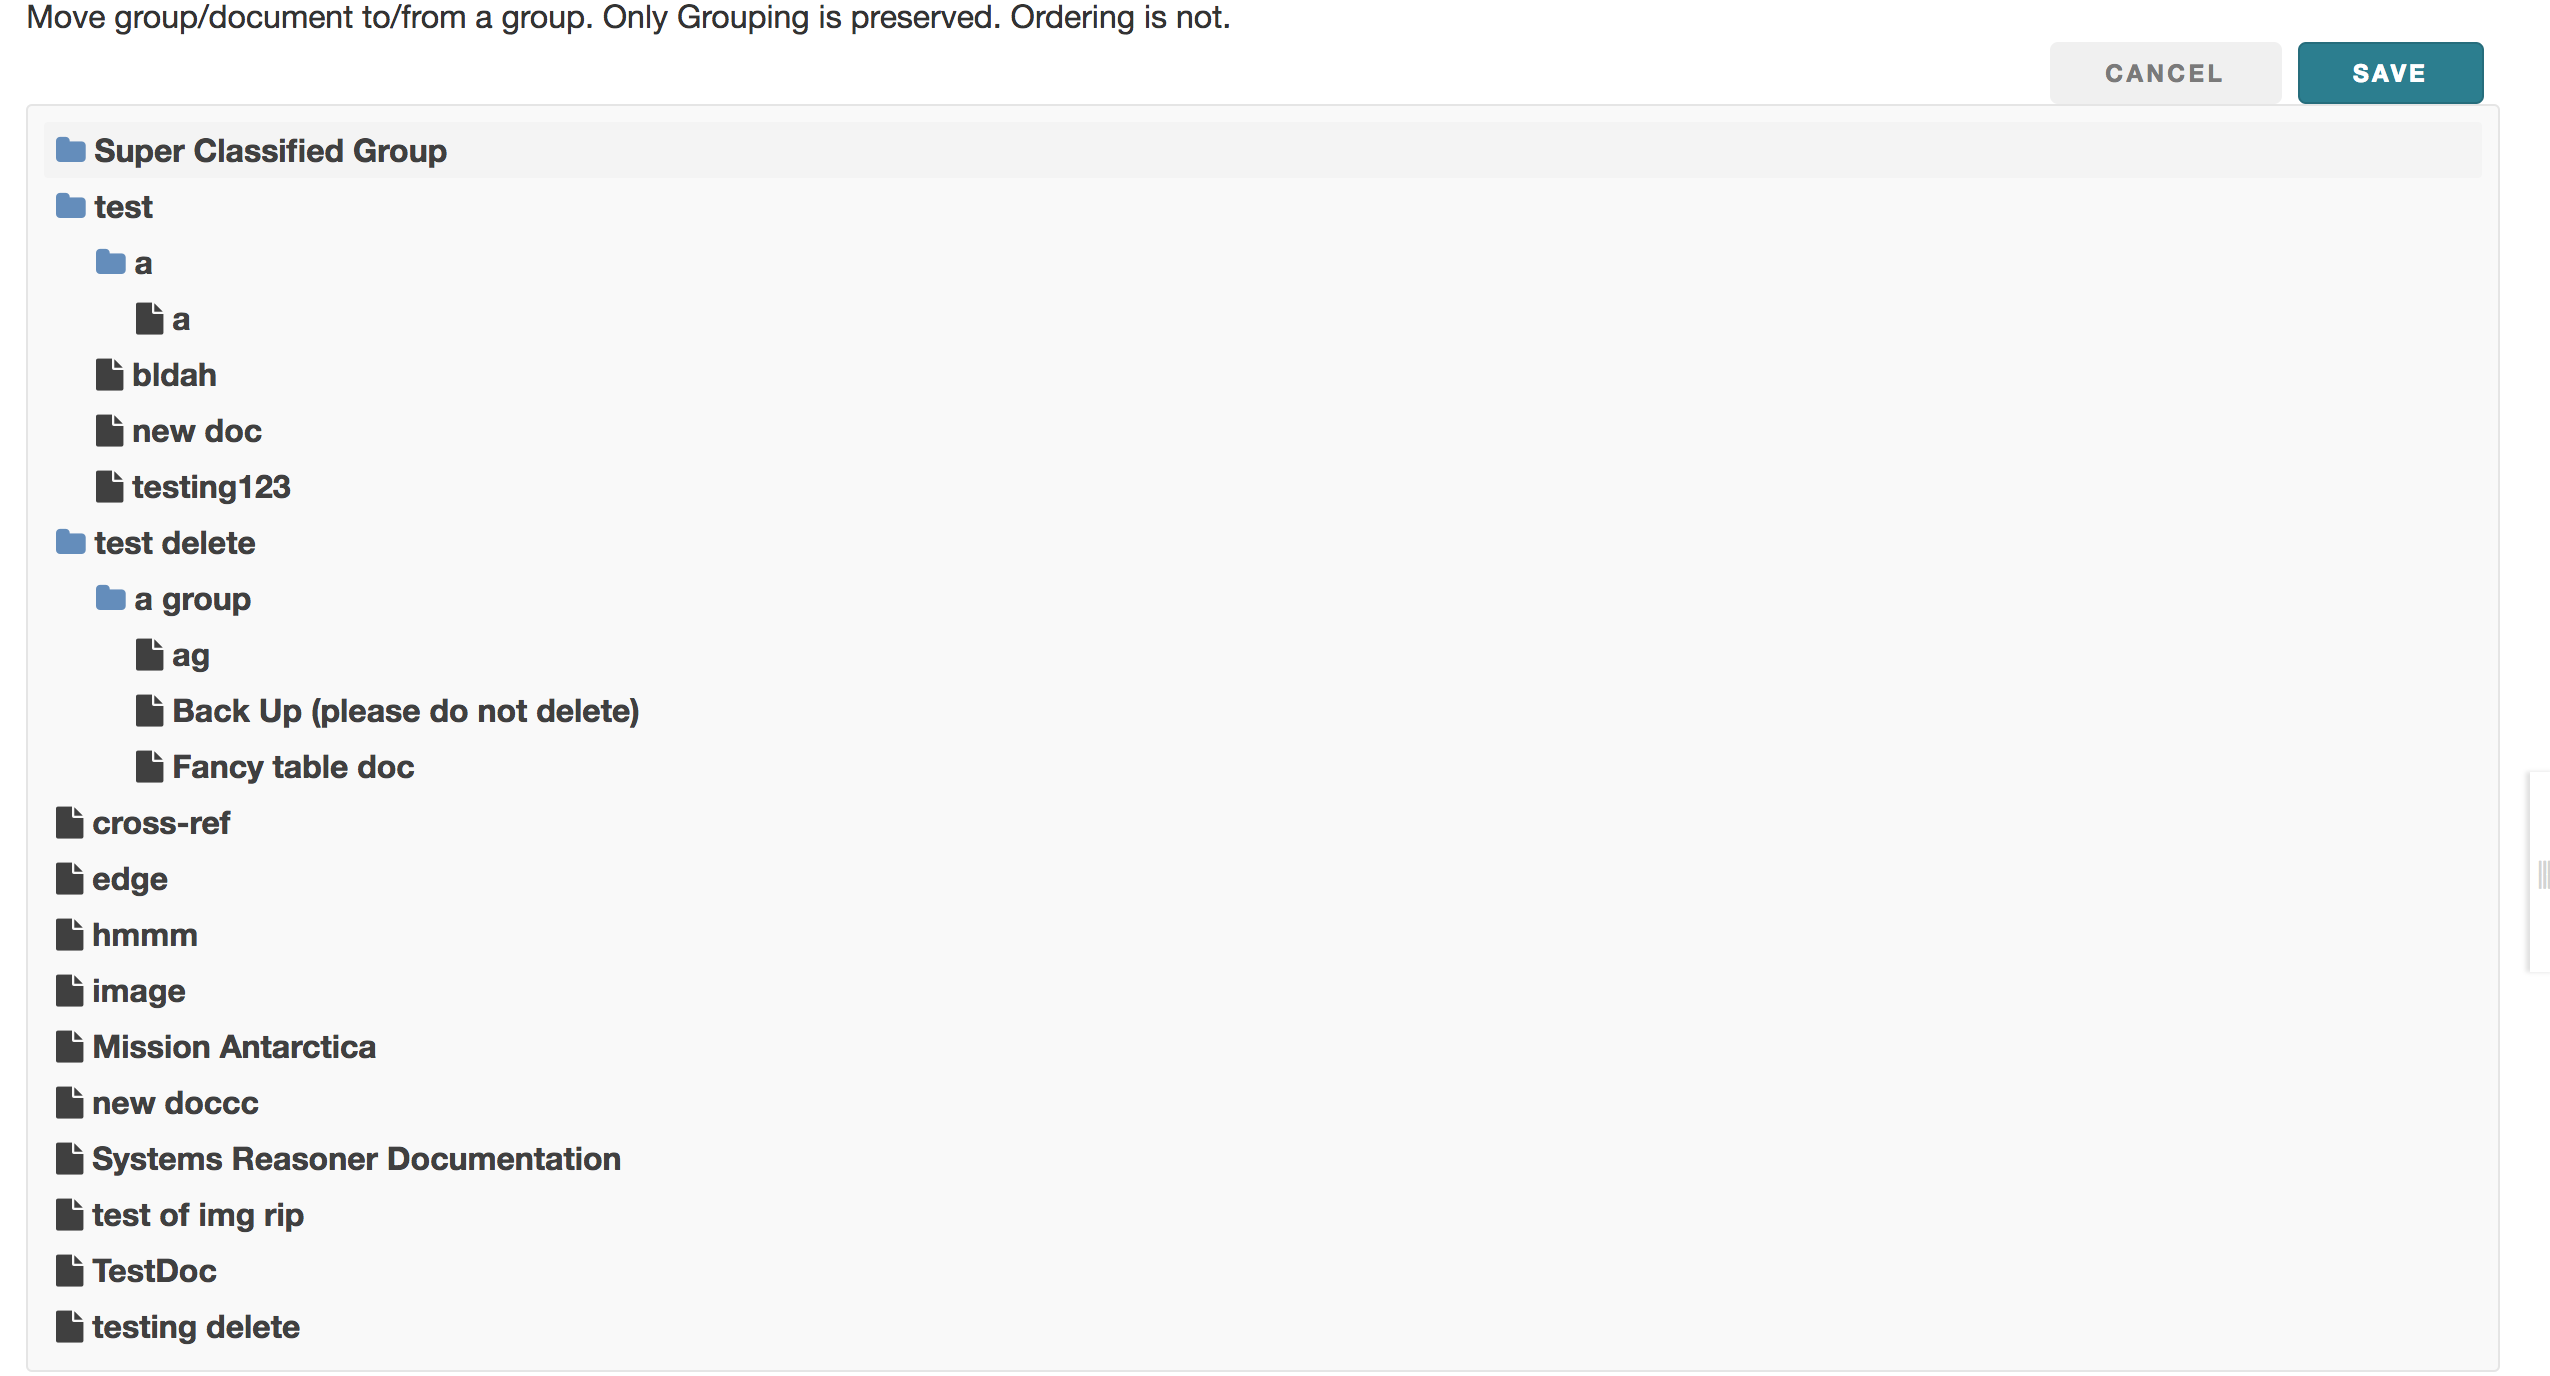
Drag any documents or group and drop it under another “Group” and then click save. Groups and documents at the same level are ordered alphabetically and cannot be manually ordered.

Your updated ordering will appear in the tree
**Note: Ordering is not maintained when moving groups(s) or document(s) in or out of another group. The ordering is automatically generated with two rules: “Group” shows up before “Document” and both of them are placed in ascending order alphabetically relative to its peer.
Documents
A Document is composed of Views (see Add Views), presentation elements (see Add Presentation Elements to View), model elements, etc.
To see how a user can sync the new document to MMS, refer to Update from MMS.
Create Document
In the upper right go to the project home

Or to create document as a child of a group, select the group.
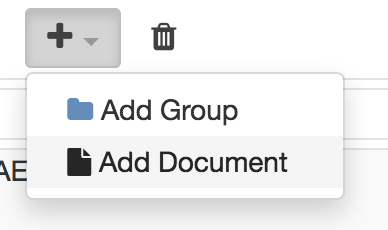
Select the plus in the left pane and “Add Document”
#. In the Create Document Dialogue, add a name, and select “create” button.
Delete Document
Select the document you wish to delete in the tree
Click on the trash button

Note that deleting a view on View Editor will neither delete the View from the model nor from MMS. To delete a view permanently, delete it from the model and then commit that delete to MMS.
Structure/Edit Document
#. Build high level document structure by creating Views
#. To edit content, toggle edit mode in the upper right
toolbar
#. Add text, images, tables, equations, and section Presentation
Elements (PEs, see Add Presentation
Elements)
using the plus menu  to the left of the document content. The
advantage of using image, table, and equations PEs is that they:
to the left of the document content. The
advantage of using image, table, and equations PEs is that they:
can be cross referenced and auto-numbered (see Use Cross References)
appear in the exported document table of contents
appear in the left document navigation tree
Views
Views can be added to a document in three different ways:
Adding a new View
Adding a new View as a subview
Adding an existing View
Add a New View
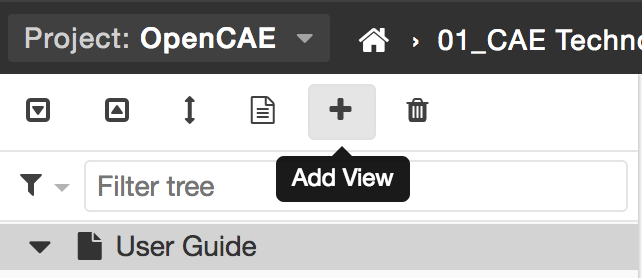
Select the document (the root on the left pane). Click on the Add button :
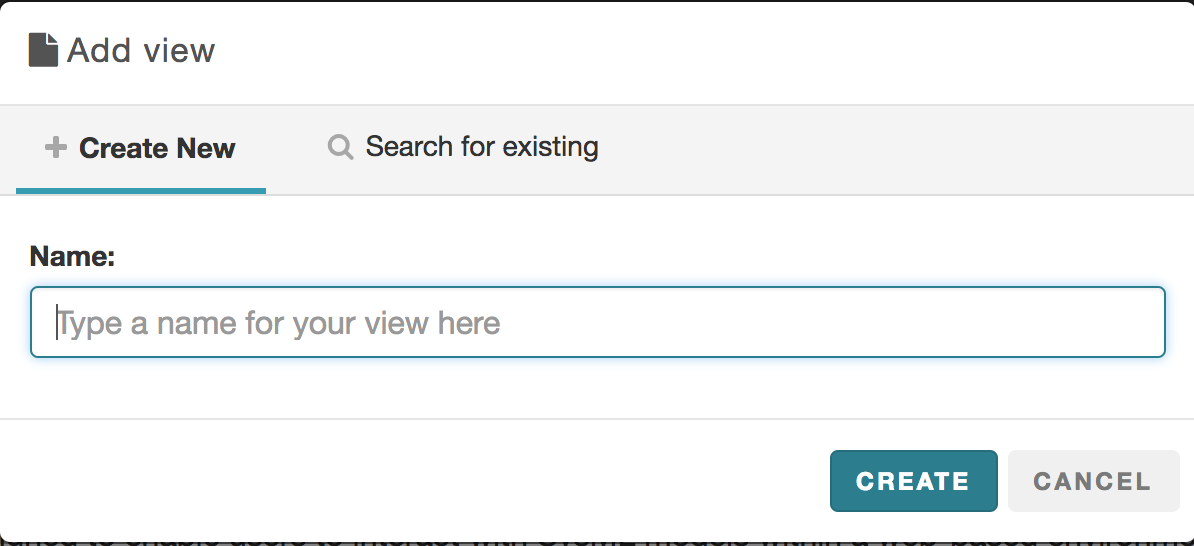
Type in a name, and click on the “CREATE” button.
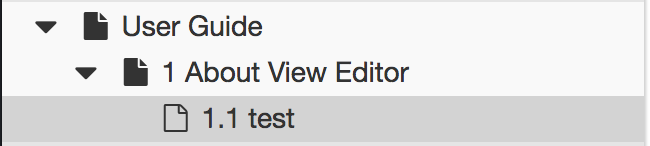
Add a New View as a Subview
Select the view under which you want to nest the subview and follow the same steps above:
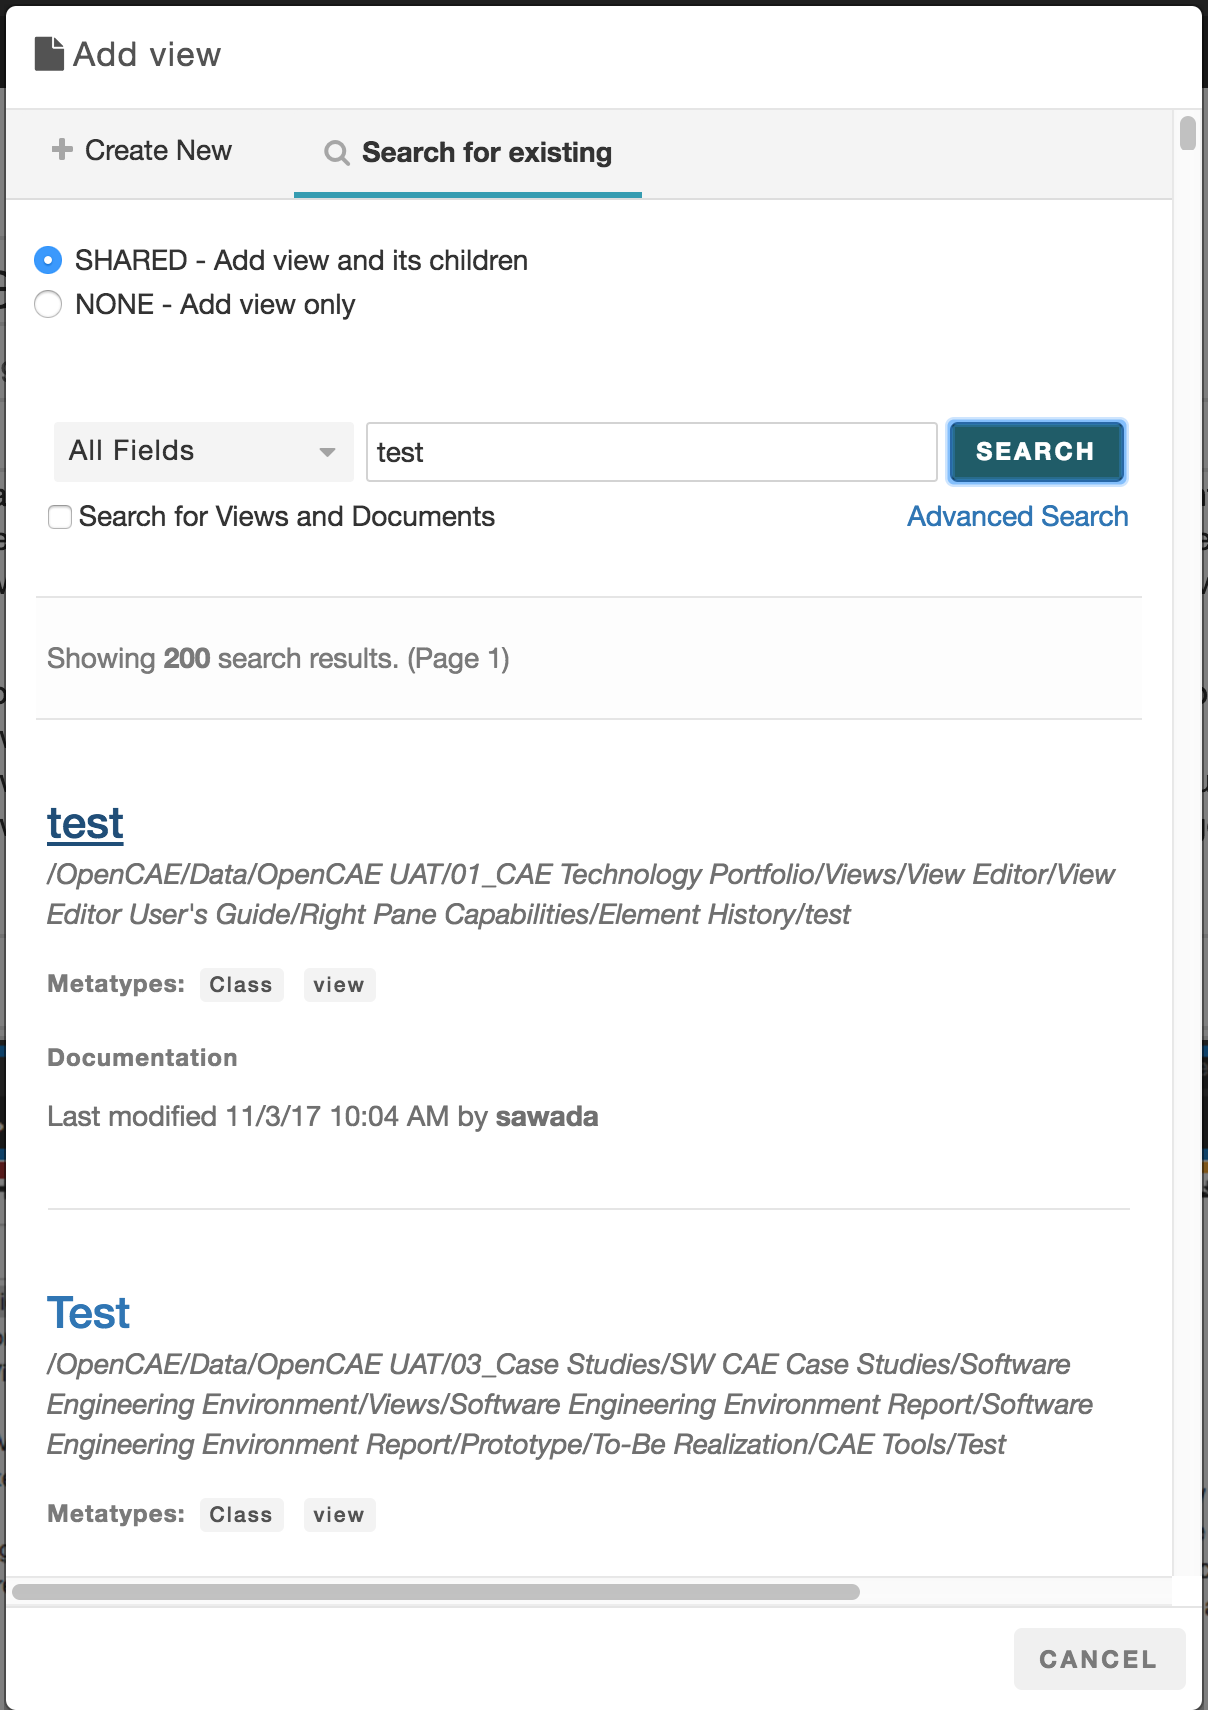
Add an Existing View
To add an existing view to another document, select a document or view to which you want to nest the existing view under, and click on the Add button .
On the pop-up dialogue, click on the “search for existing” tab:
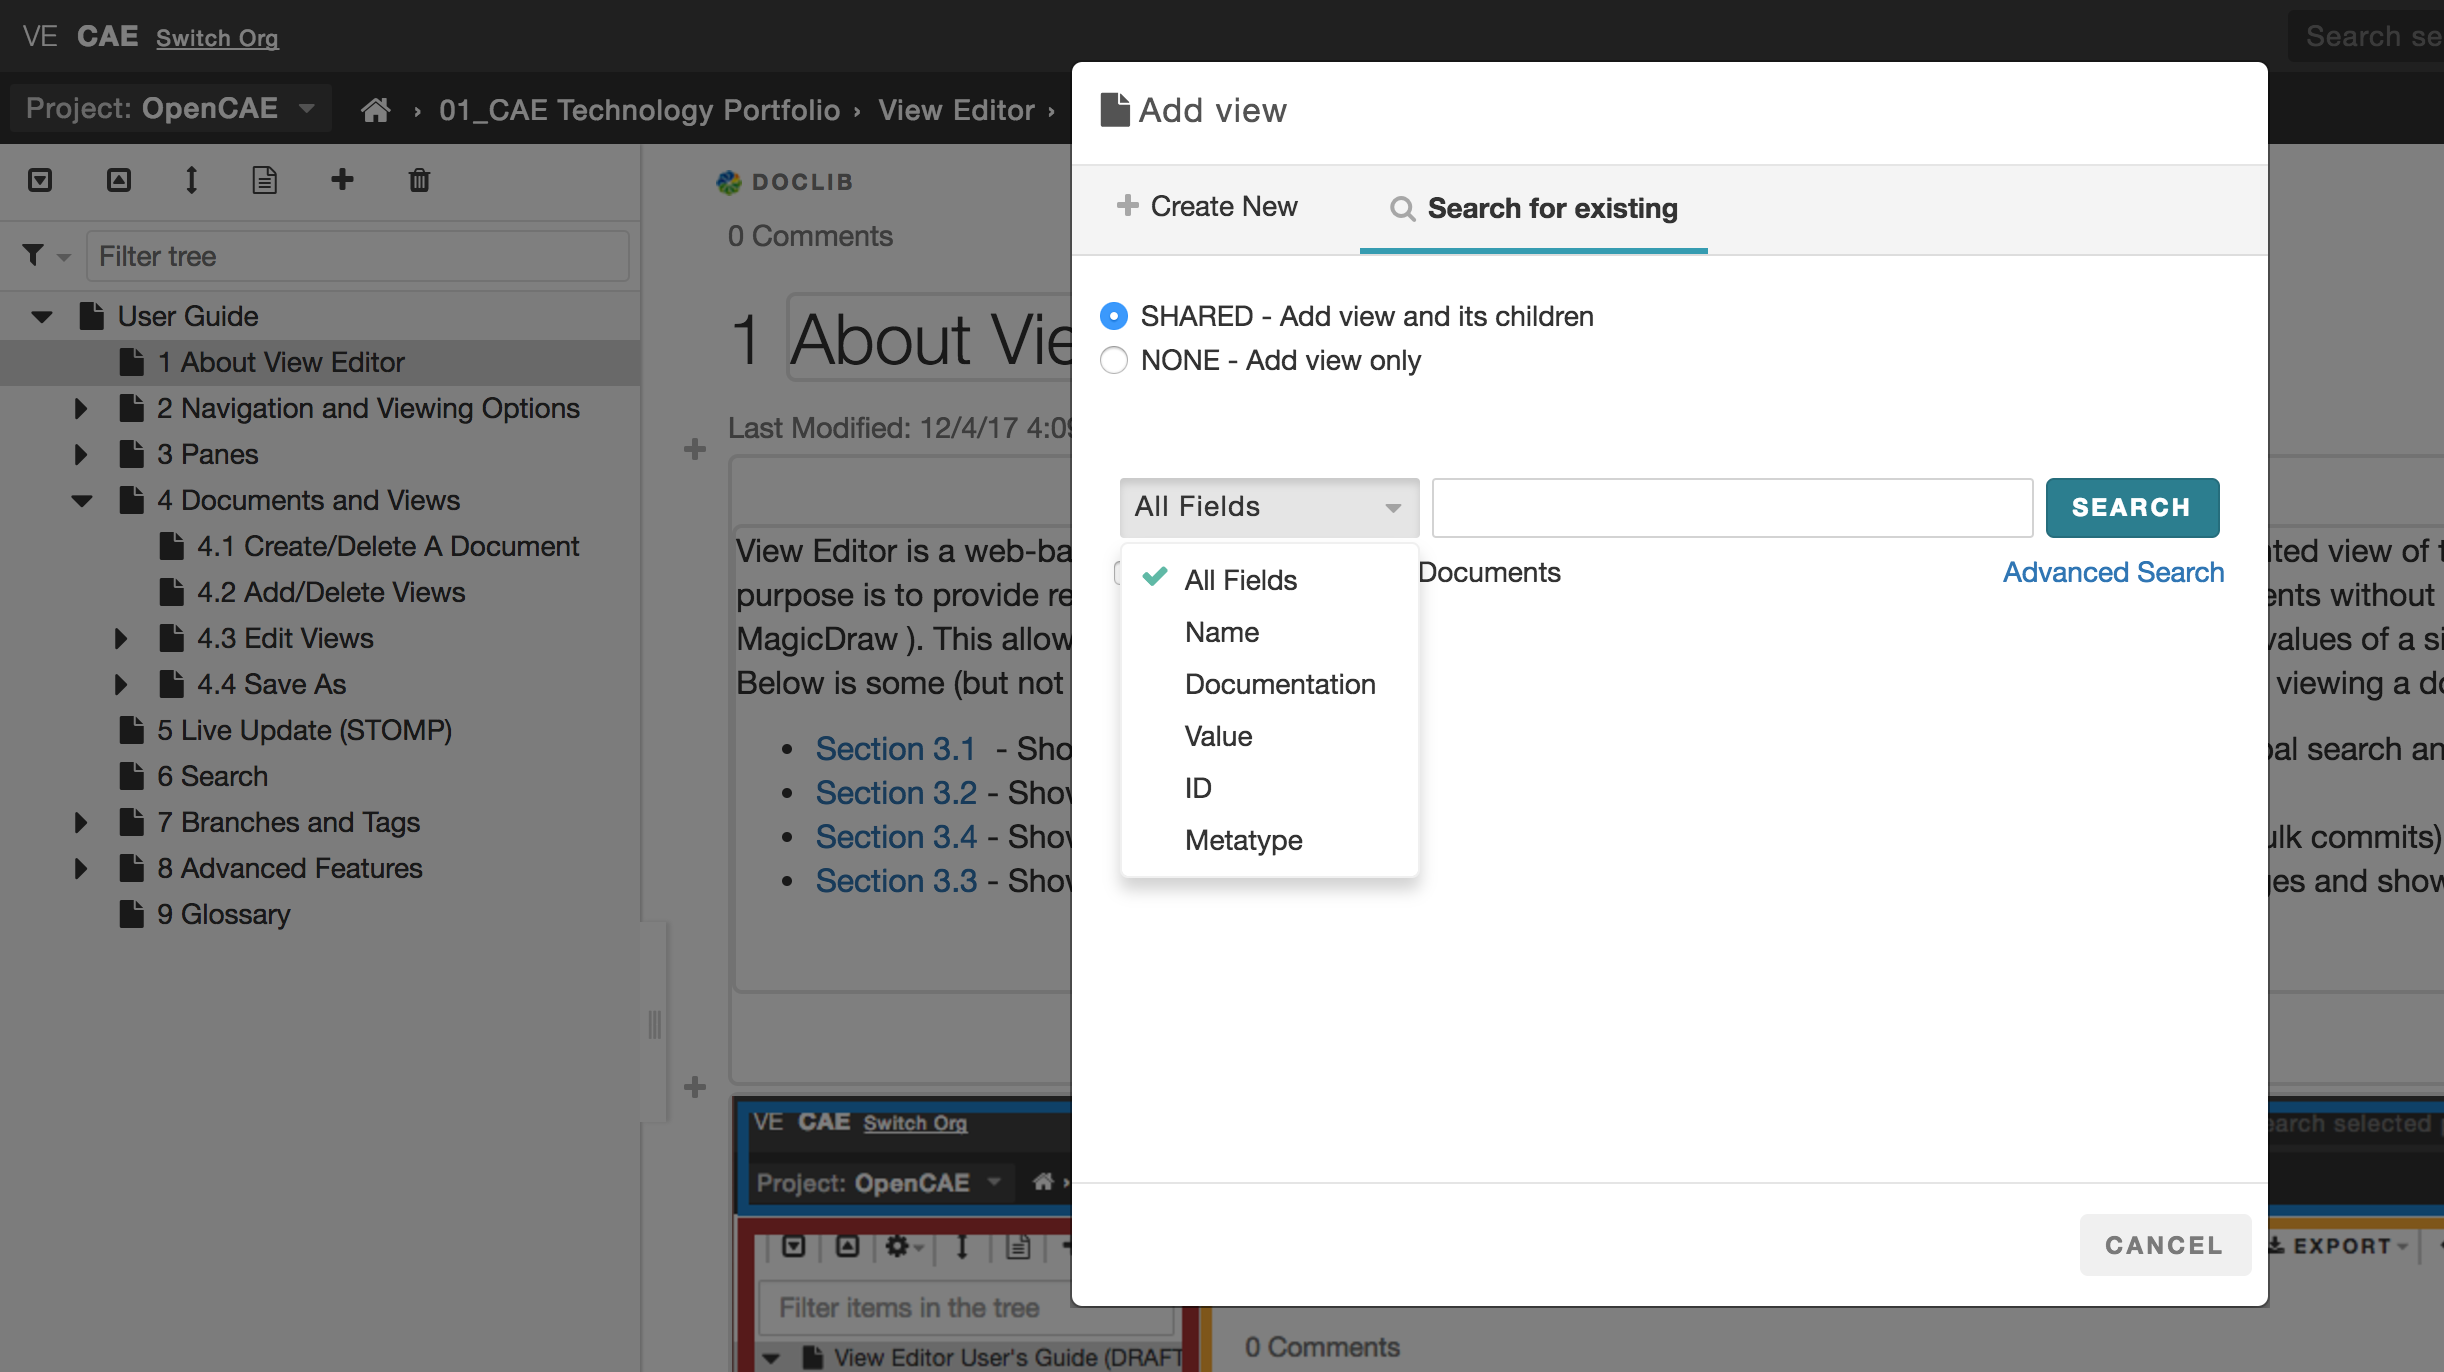
Select “SHARED” if you want to show the view/document and its children. Select “NONE” if you want to show only the view/document.
Select the desired search constraints: ALL, NAME, DOCUMENTATION, VALUE, or ID.
Select the returned view element. Click on the returned hyper link.
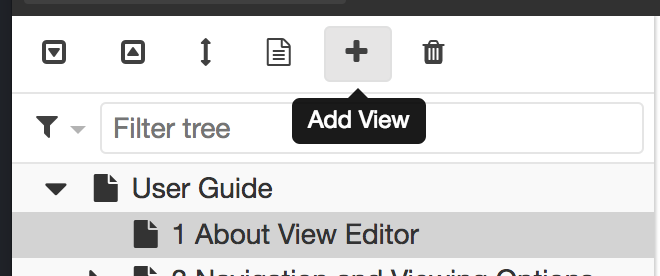
The existing view has been embedded under another view:
You can edit this view object from the view that was just nested or from the original view. The single source of truth principle is maintained.
Note: The original view will NOT be deleted upon the deletion of this view.
Delete View
A user can delete any existing view by selecting the view on the left pane, and clicking on the Delete button from a document.
Note that deleting a view on View Editor will neither delete the View from the model nor from MMS.
To delete a view permanently, delete it from the model and then commit that delete to MMS.
Upon deletion, the browser redirects the user to the top of the document.
Edit Views
This section focuses on the editing aspects that View Editor offers including the following capabilities:
High level document editing
Full text editing
Adding special elements (images, videos, links, etc)
Specifying element properties
Using cross references for “source of truth” accuracy
For more information regarding Presentation Elements as they appear in the MagicDraw model, please consult the Presentation Element Instances view.
Add Presentation Elements
Presentation elements (PE) are key components in the interaction between View Editor and the system model. They can be thought of as small, labeled containers that hold the information displayed in Views.
View Links allow you to cross reference an existing PE inside another PE. See the section, View Link, for more detail.
The following demonstrates how to add and use various kinds of presentation elements to edit View content.
Adding Text
The default PE for new Documents/Views is the text box. This will add a paragraph PE.
Enable edit mode if not yet active
Click on

Name it (optional)
Click on
 to add content
Adding Section
Sections are used for adding concrete organization to views. They are similar to views in the sense that they provide a specific amount of information. They are also containers for presentation elements, and can be cross referenced.
Enable edit mode if not yet active
Click on
Name it (optional)
Click new section area to add content

You can nest other PEs to the section PE.
Adding Comment
You can insert comments to all documents and views. Comments are saved in the model and are by default hidden from the view. See Show Comments/Elements for more information.
Adding Table
You can add a table PE. Adding a separate table PE adds an element of organization (my naming and separating it from text) to the content. It also lets you cross reference the content directly.
Enable edit mode if not yet active
Click on

Name it (optional)
Click on
 to add content
Adding Figure and Videos
A user can add figures, such as images or videos, in an image PE.
Enable edit mode if not yet active
Click on
Name it (optional)
Click on
 to add content
Adding Equation
A user can add an equation PE.
Enable edit mode if not yet active
Click on
Name it (optional)
Click on
 to add content
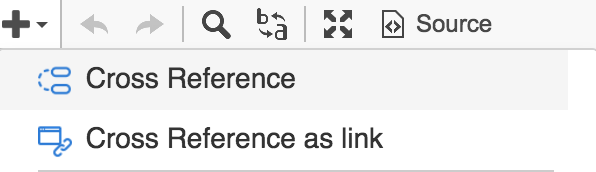
Cross Reference as Link
A Cross Reference as Link can be inserted to your view to reference an existing view or presentation element.
Steps:
Click  on
on 
** or**
Search for the desired PE/View/Section and click on the element name or related document to insert a cross reference as a link
**For PE numbering **
Search for the desired PE and click on the element name
Note: To update the link text you must switch to source view and update the <mms-view-link> tag by adding the ‘link-text’ attribute as shown:
<mms-view-link link-text=”new name for link” mms-doc-id=”sampleID” mms-element-id=”sampleID”>[cf:SampleElement.vlink]</mms-view-link>
Edit A Presentation Element
The following operations can be performed on views and documents:
Save Elements
Saving elements:
Preivew Changes
Save (and Close)
Save and Continue
Auto Save ( See Autosave to the browser’s localStorage )
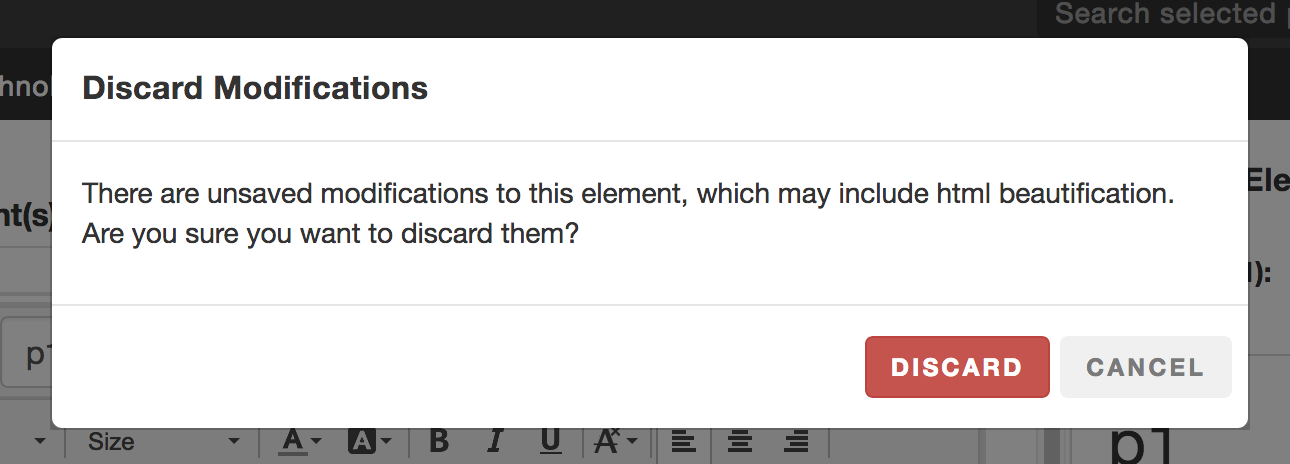
Cancel
Note: When canceling, if changes have been made, the following message will appear to warn the user that canceling changes will mean that changes will not be saved. The user would need to “Cancel” out of this message and manually save the PE if the changes were desired.
Use Cross References
Cross References are pointers to other sources of information, typically text or documentation. Such references can be names, documentation, or values of model elements, as well as other views and documents. The primary benefit of cross references is that wherever they are accessed in a Document/View, the Document/View will be automatically updated when the element is modified. This is also the direct interface for changing model elements because any change to the element cross reference will be reflected in the model itself. As you will notice throughout both this guide and Model Development Kit User’s Guide , there are cross references constantly being made to other views and documents.
The following guide demonstrates the different features and capabilities for cross referencing in View Editor.
Create a Cross Reference - name, documentation, and value
From 2.4.0 on, there is a checkbox in the cross reference popup that allows you to restrict the editability of the cross referenced element where you inserted it. This will only affect editing in the center pane and not in the element specification on the right pane.
Search and add Cross Reference through interface
Enable Edits

Select a Presentation Element to Edit
Click on
 on the editor tool bar.
You can search for the existing element by the following fields:
Name
Documentation
Value ( & Name of a different element in this case)
Element ID
Select the element you want to cross reference.
Click on the item that you want to cross reference
You will see a blue box with the label, cf: xxxxx, where xxxxx is the name of the cross referenced object.
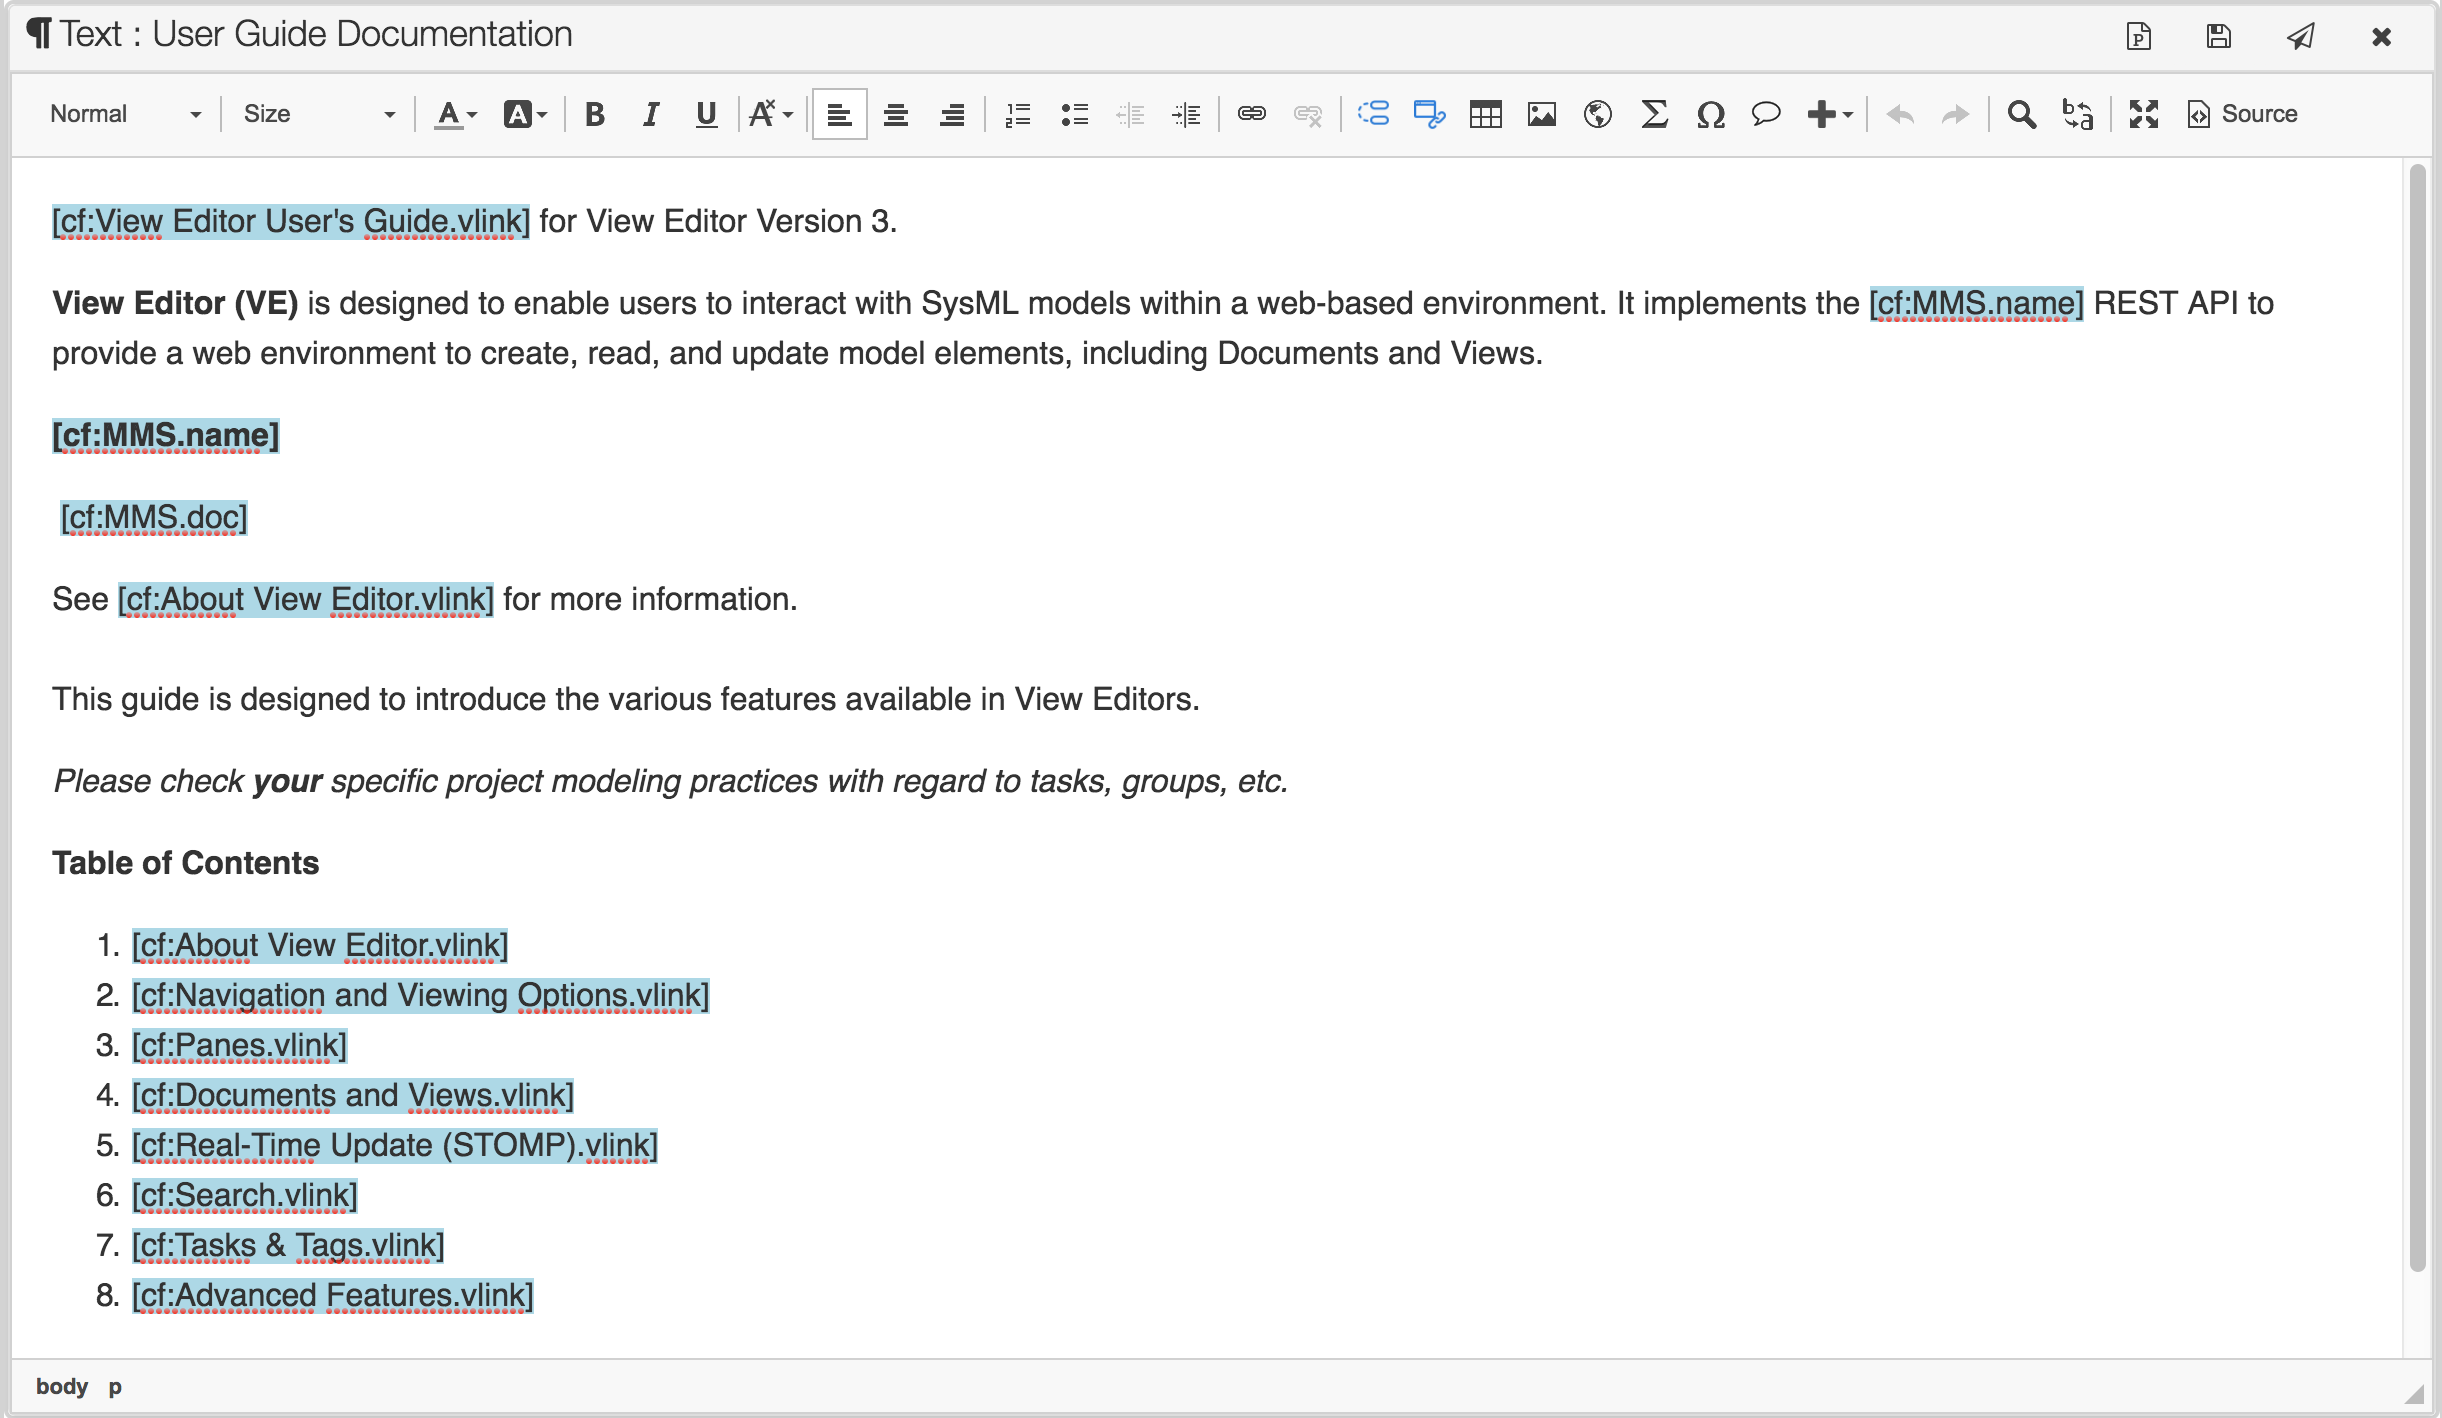
Find Cross Reference inline
Enable Edits
Select a Presentation Element to Edit
You can use the ‘@’ symbol to find cross references inline
Can use the up/down arrow to highlight and select element
Editing cross referenced elements
Cross referenced element can come from:
Different part in View Editor
New Cross Reference
Bonus: Run “Update from MMS” in MagicDraw to see the changes to the elements
More information can be found in the description
To learn more about how the edited elements are synced back into the Model, see Update from MMS.
Reorder Views/Elements
You can reorder Views and Presentation Elements (PEs) to change the hierarchy of the elements.
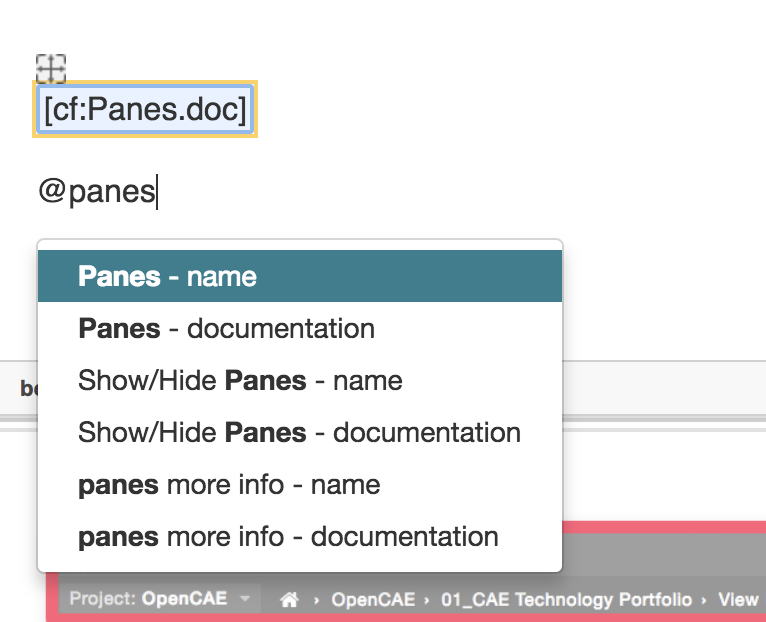
Reorder Views (Enhanced)
Click on the “Reorder Views” button on the left pane.
Drag and drop the tile to reorder views as desired.
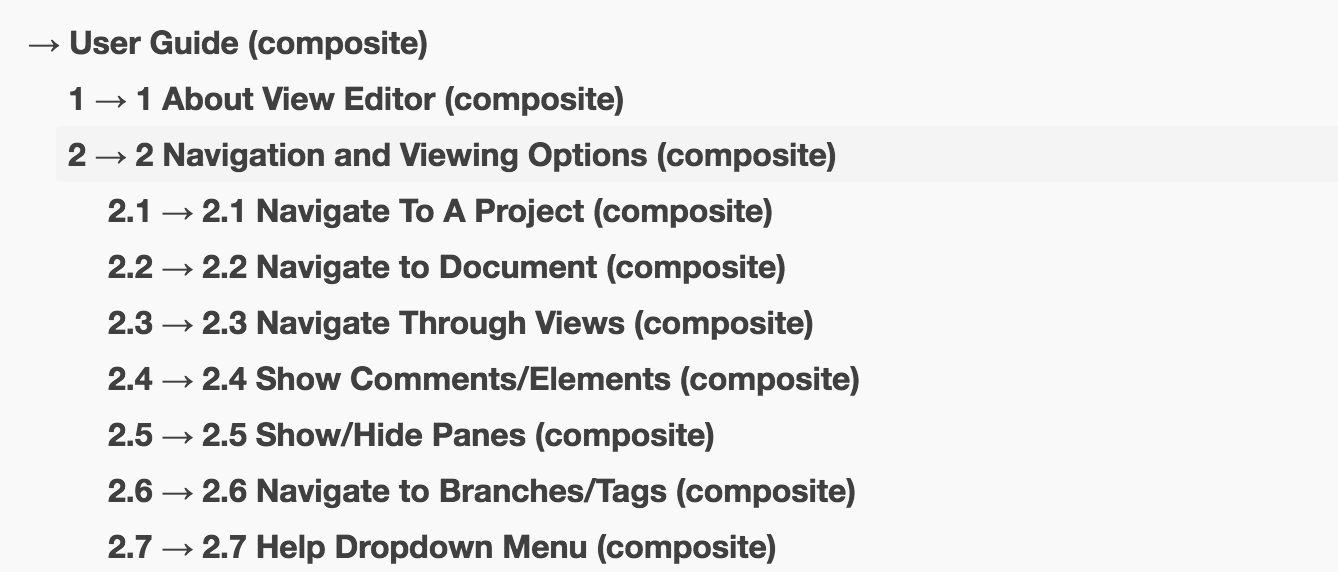
Note: The blue position guide arrows let you know where the view/document will be inserted as you drag a tile:

Note: When a view that has subviews is selected to be moved, all of its subviews will move with it.
To learn about adding different types of views, refer to [cf:Add Views.vlink]
Capabilities:
Switch 2 views
Move a view to become a subview
Move a view to become a parent of another
Change node level (depth)
Notes for Modelers/Developers:
Each view will have indication of which type of connection it’s under (composite/shared/none), only composite/shared views will show their child views. Hence you cannot move views under a view that’s connected as “none”
Known issue -Section numbering has been added since version 3.2.2, but view reordering page still showing numbers as if sections aren’t numbered. We are working on a more robust reordering option.
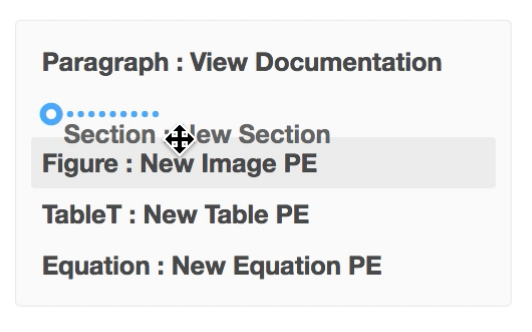
Reorder Presentation Elements (PEs)
1. Click on the “Reorder Content” button on the right pane.
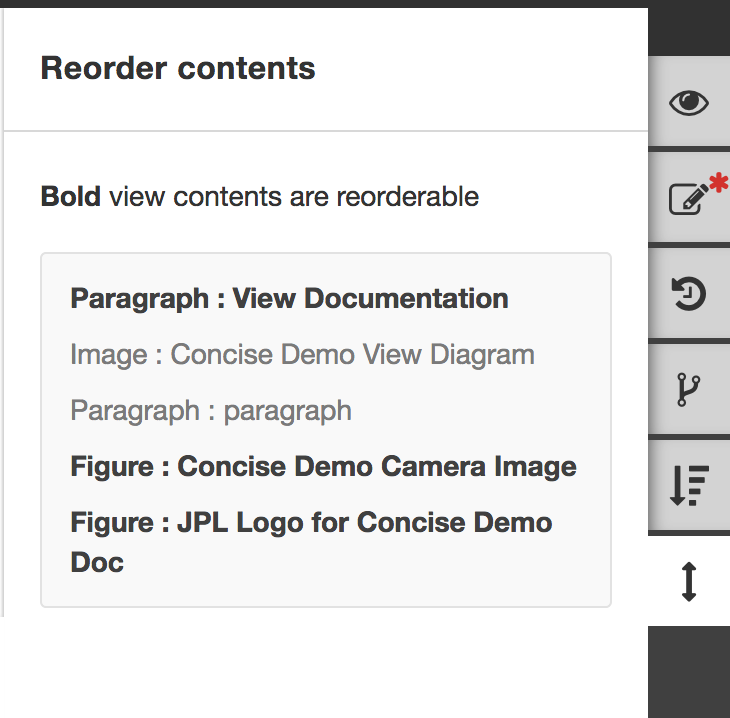
2. Drag and drop the tile to move the elements around and reorder them as desired.
For more information on PEs, refer to Add Presentation Elements
For more information of other tools in the Right Pane, refer to Right Pane Capabilities
Save As
You can save Documents and Views locally. The following guides demonstrate the options for saving Views and Documents.
Save As options include the following for both Documents and Views:
Print to Printer and Save to PDF or Word will also generate the table of contents, list of tables, list of figures, and update the numbering within the document for any links. The popup will also allow you to enter custom header and footer info, with prefilled info if it’s available in the model (through the Document stereotype’s docMetadata tags).
Print to Printer
Print View
You can physically print a selected view:
Select the view/document you want to print out (click on “Full Document”
 if you wish to print out the entire
document).
if you wish to print out the entire
document).Click “Print”

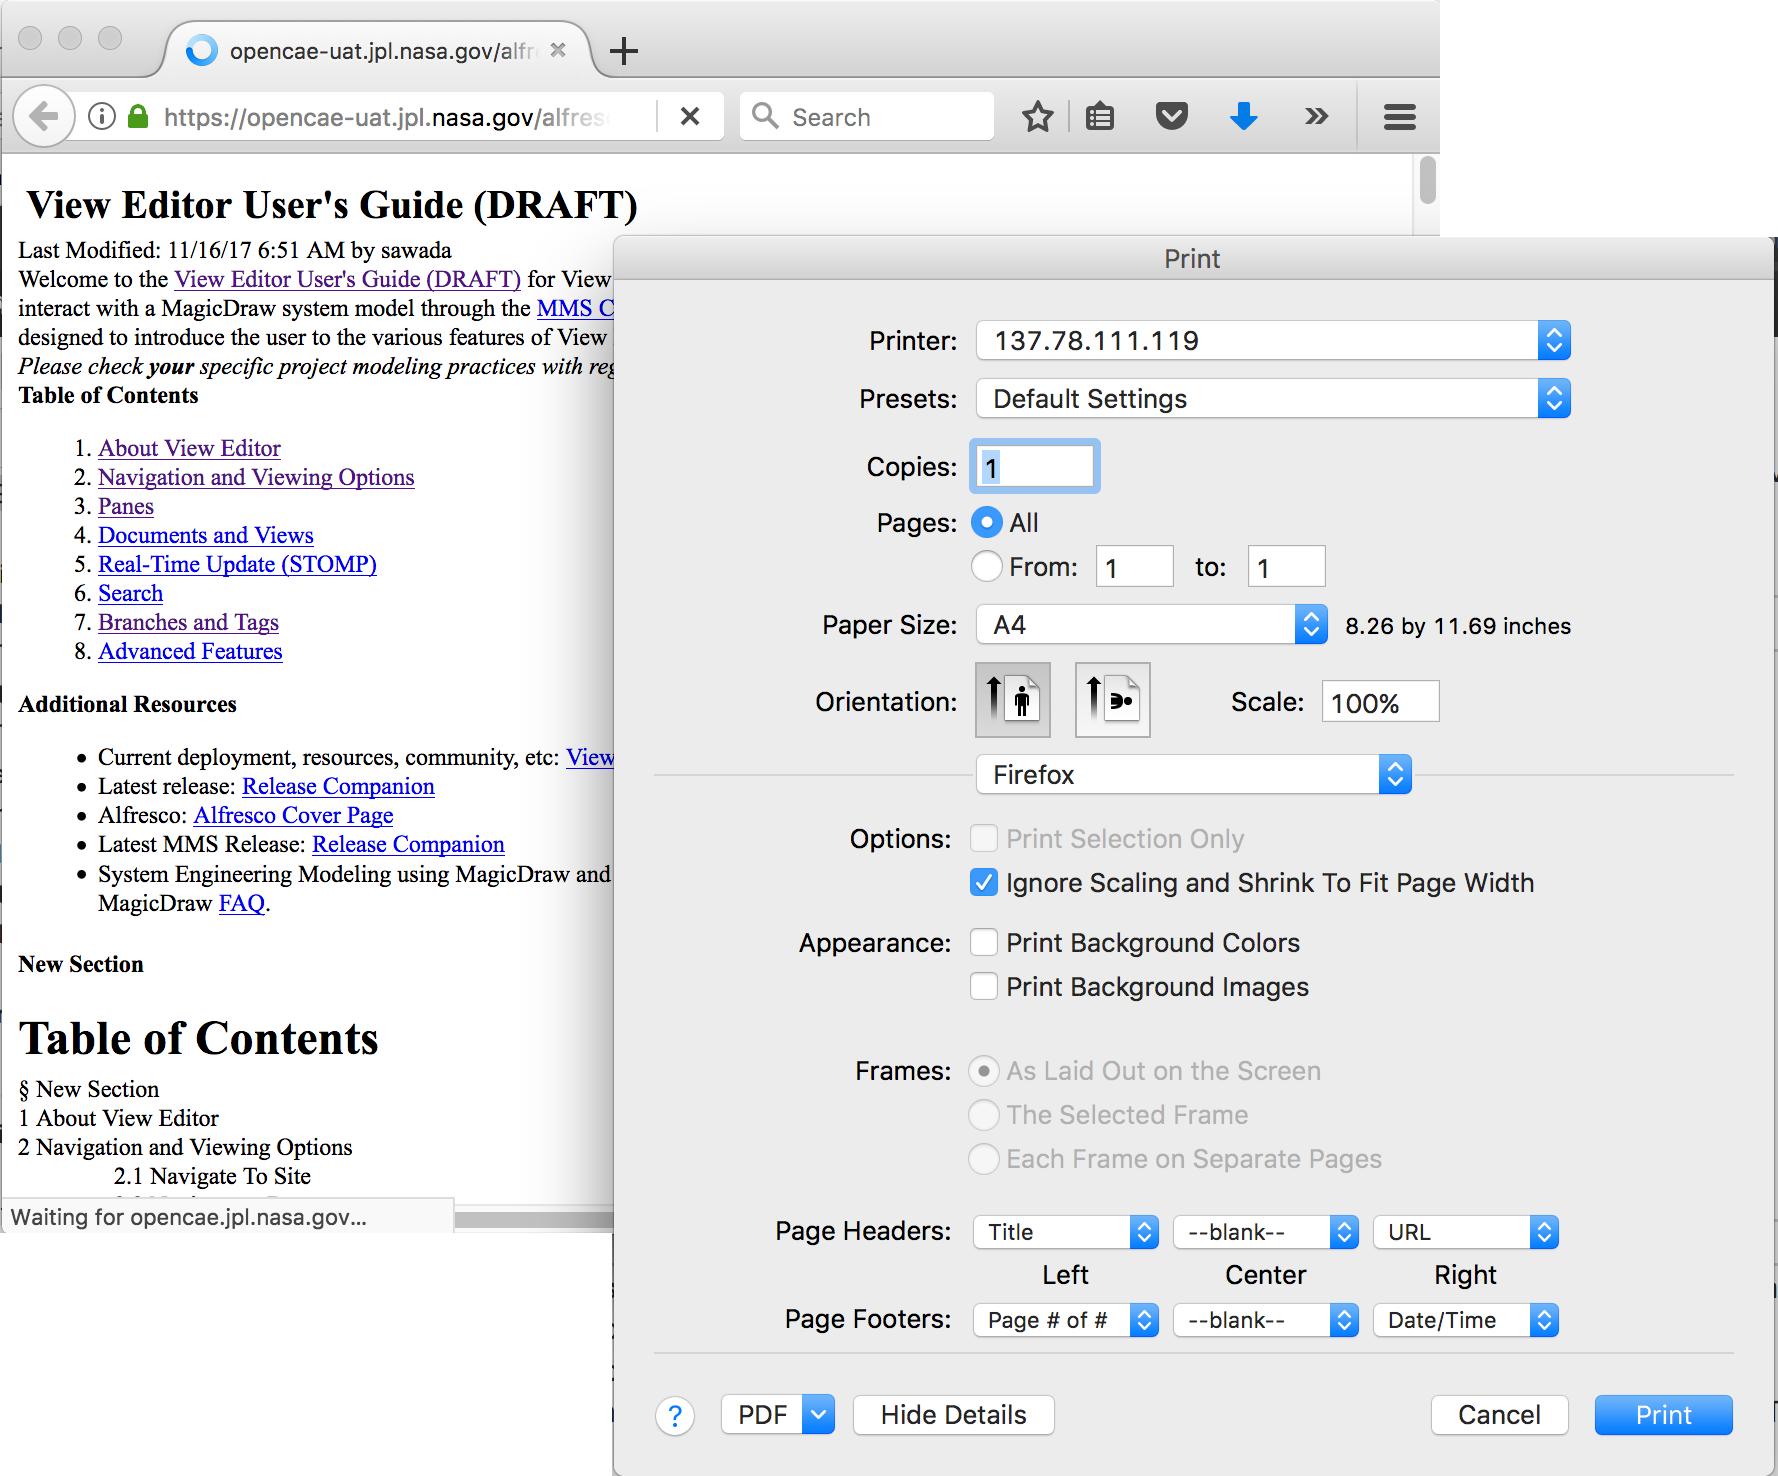
The print content dialogue will pop up
Select a printer and print
Generate PDF
See these subsections for more information about specific generations:
Generate PDF of View/Document

You can convert the document/view to a PDF file and save.
Step By Step Instructions:
Select the view you want to convert
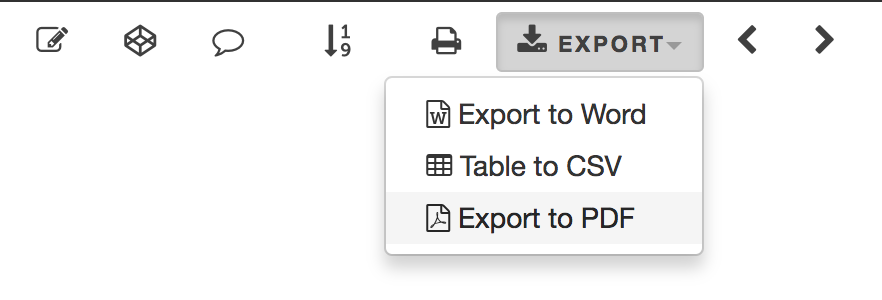
Click ” Export ” button
Select ” Export to PDF “
If not in ” Full View ” mode, a dialogue window will pops up, asking if you want to export from Full View.
Generate PDF Document dialogue will pop up:
Choose whether or not to create list of tables and figures
If you wish to generate list of tables and figures based on the presentation element type, check* Use HTML for List of Tables and Figures (will not include equations and may differ from web numbering) *option
Check landscape option if necessary
Click on ” Generate PDF “

You will receive an email with the link to the document/view, converted PDF

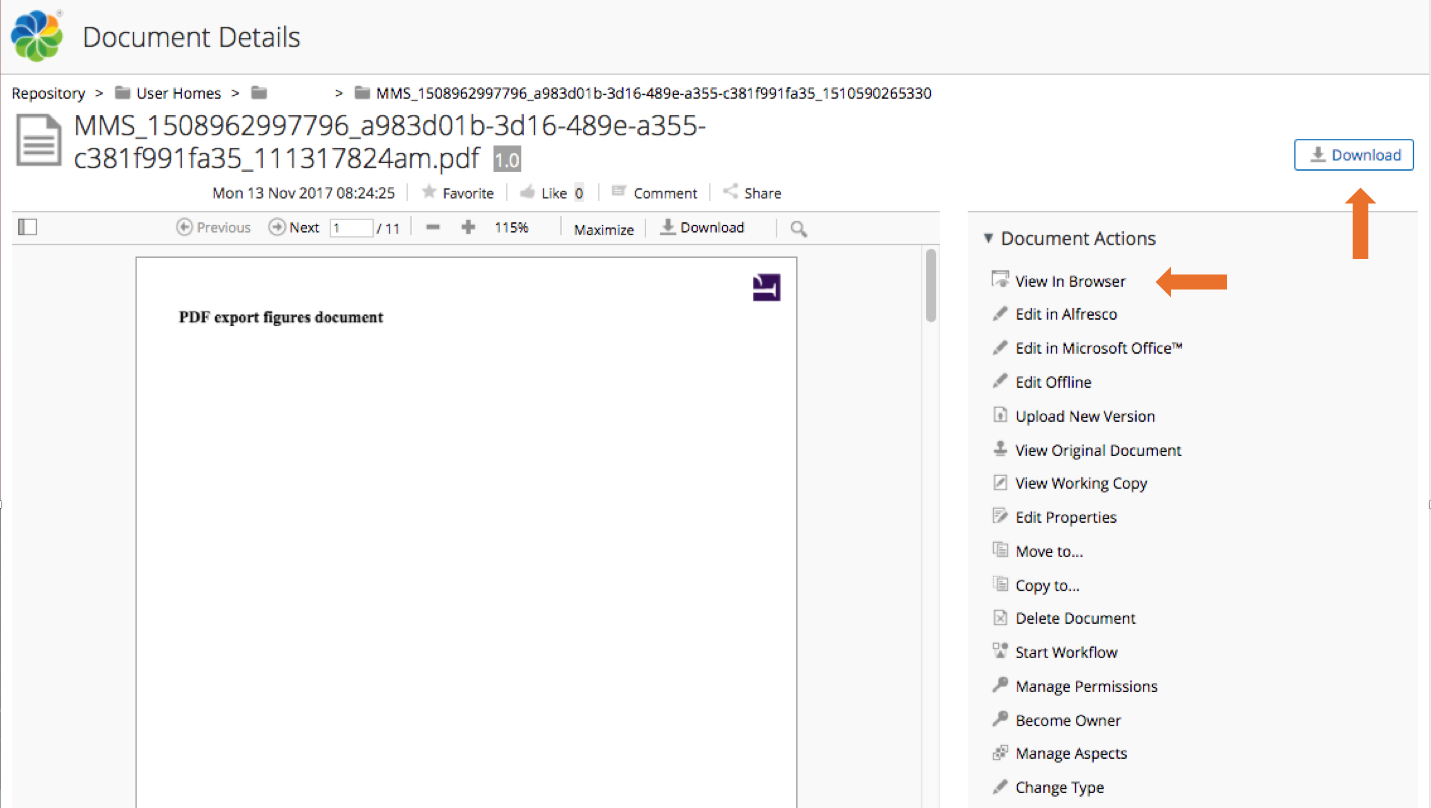
Follow the link in the email message to view the PDF document, stored in Alfresco. To download, click on the Download button. To view in the browser, click on the “View In Browser”.
Options provided in “GENERATE PDF DOCUMENT” Dialogue Window
Generate List of Tables and Figures:
Check the box if you wish to generate a list of tables and figures beneath the Table of Contents.
2. Use HTML for List of Tables and Figures (will not include equations and may differ from web numbering):
Choose this option if you wish to generate the list of tables and figures from all existing tables and figures in documents/views.
Leave the box unchecked If you wish to generate the lists based on the associated presentation elements
Note: Images in <figure> tags are used to generate the list.
Generate PDF with Model Based Cover Page
In certain circumstances, you may want to create a custom cover page for a chosen document. The cover page is identified as the first View and has the Metatype of “Document” (highlighted below on the right pane). See below for the cover page of this User Guide:
This can be done in two ways:
View Editor
A user would edit the cover page exactly the same way as any other view in the document.
A user can add Presentation Elements (including texts, pictures, etc.) and edit through normal ways.
This is ideal for customizing one document at a time.
MagicDraw
A user can add a normal ViewPoint to any cover page, the same way a user would do for any view.
All normal ViewPoint methods are available for the Cover Page as well.
This is ideal for creating a reusable cover pages.
See Create a Reusable Cover Page more information.
Save to Word Document
Save Document/View To Word
You can convert the document/view to a Word file and save.
Step-by-step instructions:
Click on ” Export ” button, and select “Export to Word” (See below)
If not in ” Full View ” mode, a dialogue window will pops up, asking if you want to export from Full View.
You will receive an email with the link to the converted Word document/view.
Export Tables
Tables to CSV “”””””””””””’
Click on ” Export ” button, and select ” Table to CSV “
You will see the following prompt:
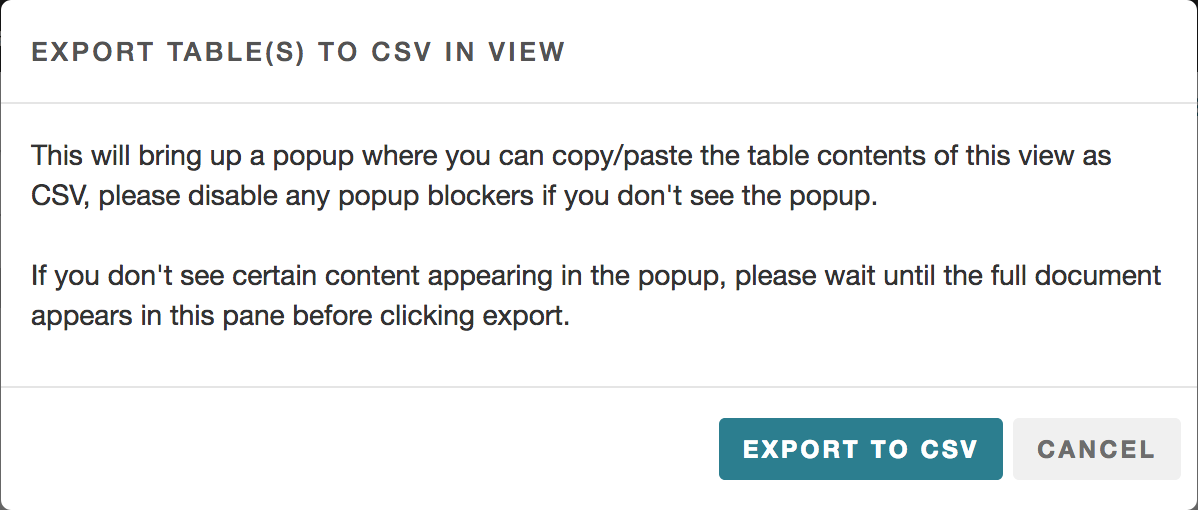
Click on Export To CSV. The popup window below will display.
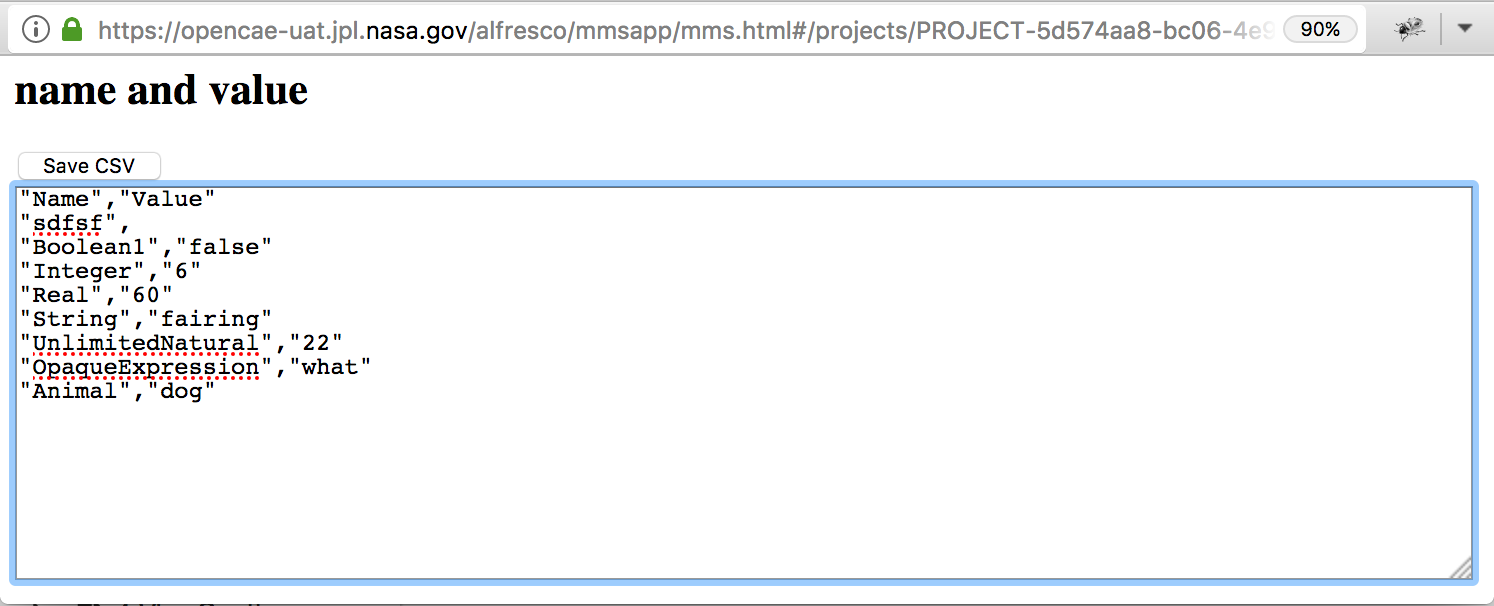
Click on ” Save to CSV ” button to store the table in a view/document as a CSV file.
Save all tables from document to CSV
Go to the full document by clicking on
button.Follow the steps above.
Export Rapid Table
Filter and export options are available when tables (“rapid tables”) are generated through MagicDraw. In the following clip, the user began with an existing rapid table (“Community Resources” on MagicDraw and demonstrates how to filter the contents and export the full table as CSV.
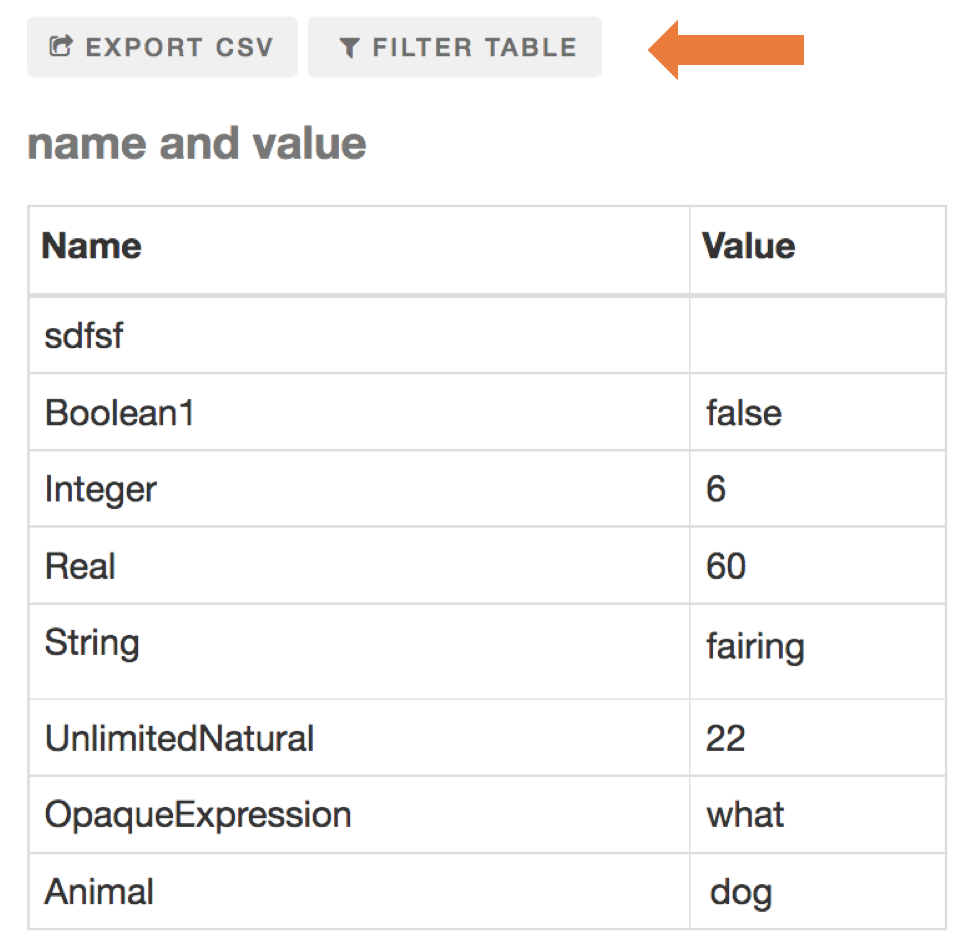
Learn how to create a Rapid Table in a view here: Create and Generate a Rapid Table
The Filter and Export icons appear (see the orange arrow in the image above):
You can also export a filtered table by following the same steps but not “Reset” filter
To Filter Table
Click “Filter Table” button
Enter desired filter and “Apply”
“Reset” filter
To Export CSV (*can be cross referenced to”Save as” screencast )
Click “Export CSV” button
Open with default settings